

하 전에 진작에 기록에 남길걸 이 귀찮은걸 또해야되네
[ A Tour of Qwiklabs and the Google Cloud Platform ]
(GCP를 다루는 기본적인 내용이라 내용은 생략한다.)

[ Creating a Virtual Machine ]
(콘솔과 shell로 각각 instance를 생성하고 접속해본다.)

In this hands-on lab you'll learn how to create virtual machine instances of various machine types using the Google Cloud Platform (GCP) Console and using the gcloud command line. You'll also learn how to connect an NGINX web server to your virtual machine. 이번엔 gcp 가상머신을 콘솔을 통해 생성하고, 웹서버를 배포에 연결시켜보는 실습이다.
먼저 쉘에 접속한다. 아래와 같이 익숙한 화면이 뜬다. 다음 두 코드로 권한과 project-list를 볼 수 있다.
gcloud auth list

gcloud config list project
Understanding Regions and Zones => region과 zone에 대한 설명이다.
Certain Compute Engine resources live in regions or zones. A region is a specific geographical location where you can run your resources. Each region has one or more zones. For example, the us-central1 region denotes a region in the Central United States that has zones us-central1-a, us-central1-b, us-central1-c, and us-central1-f.

instance는 좌측의 vm instances에 들어가면 생성할 수 있다.

다음은 생성한 instance에 간단한 nginx web-server를 만들어 볼 것이다. 생성된 화면에서 ssh부분을 누르면 해당인스턴스에 ssh로 접속이 가능하다.

ssh로 접속했다면 다음 세가지 명령어로 nginx를 설치하자.
sudo su -
apt-get update
apt-get install nginx -y

# 확인단계
ps auwx | grep nginx

사실 인스턴스는 cloud console에서 gcloud 명령어로 생성하는 것이 훨씬 간편하고, 데이터분석을 해볼때도 그렇게 사용했었다.
gcloud compute instances create gcelab2 --machine-type n1-standard-2 --zone [your_zone]
두번째 인스턴스(CLI로 만든 것)에 shell에서 접속해보자. 굉장히 간단하다. 나올때는 exit이면 충분하다.
gcloud compute ssh gcelab2 --zone [YOUR_ZONE]
[ Compute Engine: Qwik Start - Windows ]
(윈도우 서버 설치해본다. 별건 없다.)

[ Getting Started with Cloud Shell & gcloud ]

cloud shell을 다뤄본다. zone과 region은 default 값으로 지정할 수 있는데 이는 google-compute-default-zone google-compute-default-region 이다. CLI로 프로젝트를 살펴보기 위해서는 다음 명령어를 사용하면 된다. export 명령어로 variable 선언을 할 수도 있다.
gcloud compute project-info describe --project <your_project_ID>export PROJECT_ID=<your_project_ID>
export ZONE=<your_zone>
아래 명령어로는 아까 저장한 변수를 활용해서 vm-instance를 생성하는 모습을 보여준다.
gcloud compute instances create gcelab2 --machine-type n1-standard-2 --zone $ZONE
[ Kubernetes Engine: Qwik Start ]

kubernetes에 대한 설명을 다음과 같이 나온다. Google Kubernetes Engine (GKE) provides a managed environment for deploying, managing, and scaling your containerized applications using Google infrastructure. 쿠버네티스 엔진은 다양한 머신으로 이루어져있는데, 이는 나중에 차차 알아보기로 하고 기본적인 생성과정과 엔진에 대해 알아보도록 하자.
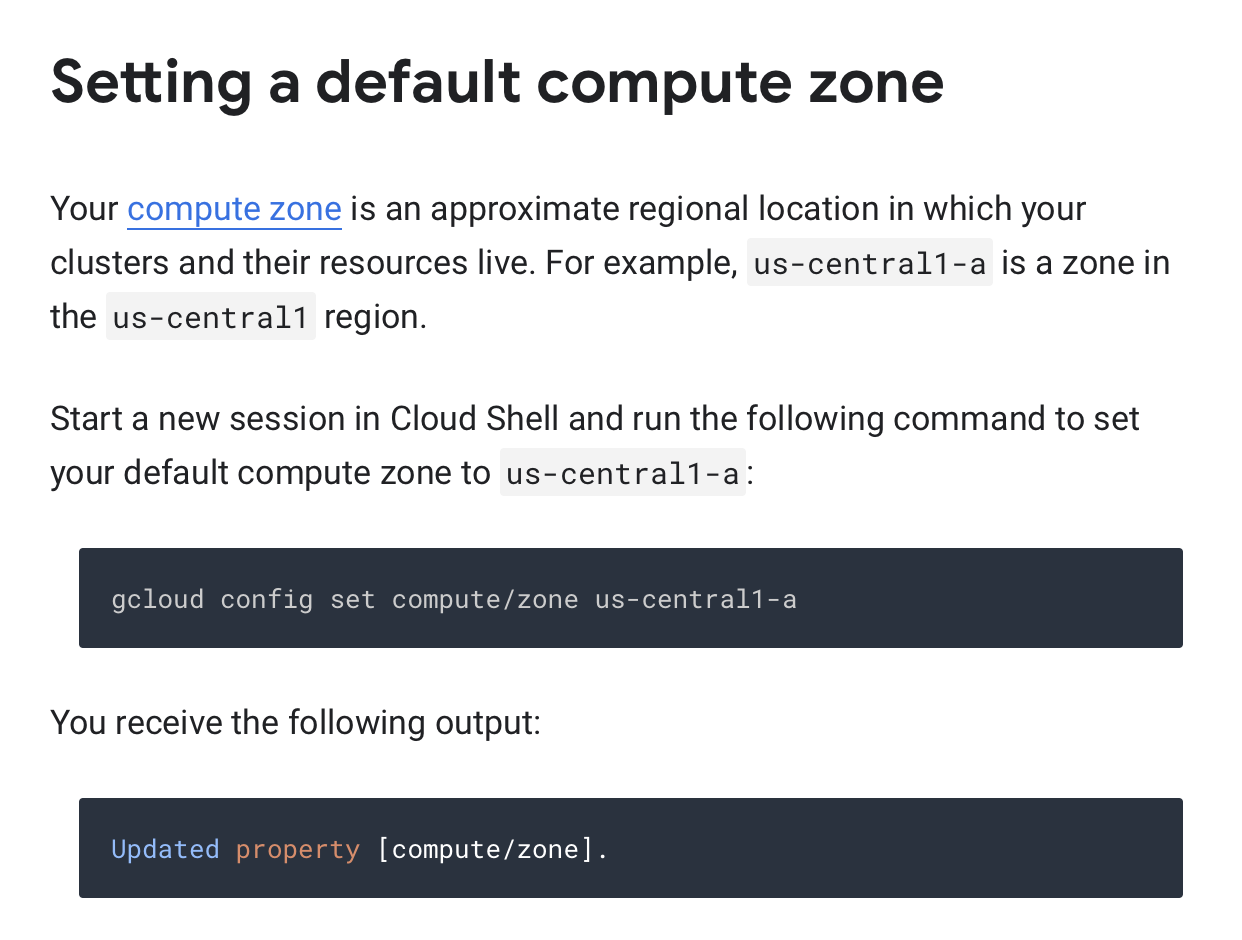
1. 먼저 cluster과 기타 resource들이 위치할 zone을 설정해준다.
2. kubernetes engine cluster를 생성한다.
gcloud container clusters create [CLUSTER-NAME]
생성한 화면은 다음과 같다.

3. cluster의 권한을 얻어야 한다.
gcloud container clusters get-credentials [CLUSTER-NAME]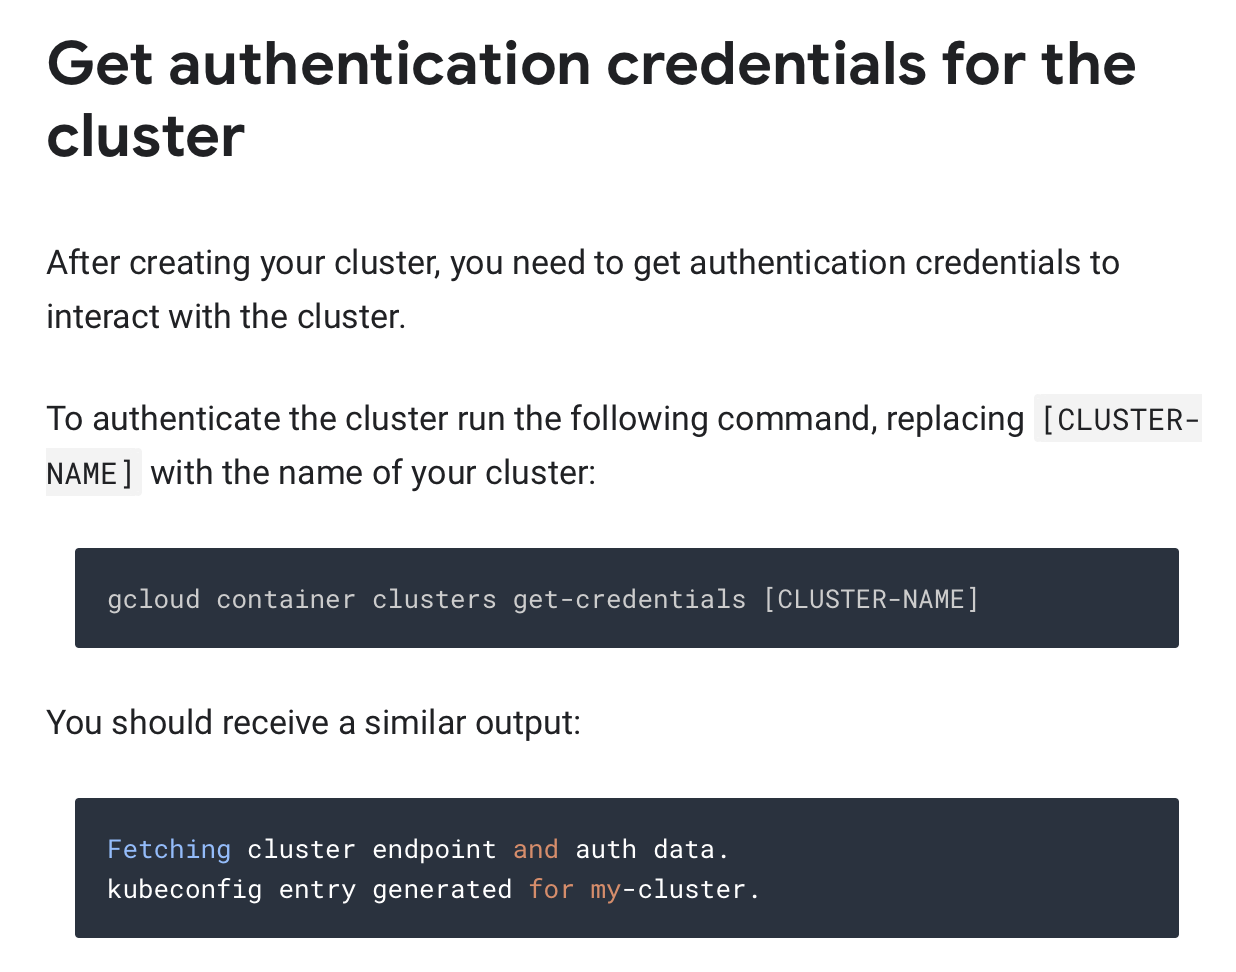
4. cluster에 앱을 배포한다.
kubectl create deployment hello-server --image=gcr.io/google-samples/hello-app:1.0


5. 사용이 끝난 클러스터는 삭제해준다.
gcloud container clusters delete [CLUSTER-NAME]

[ Set Up Network and HTTP Load Balancers ]
이번에는 Network Load balancer와 Http Load balancer를 설치해보는 실습시간이다. zone과 region을 기본적으로 설치하고 들어간다.

'[Cloud] > [GCP]' 카테고리의 다른 글
| [GCP] Cloud Monitoring 로 VM 인스턴스 로그 수집하기 - 3. Cloud Monitoring (0) | 2021.03.27 |
|---|---|
| [GCP] Cloud Monitoring 로 VM 인스턴스 로그 수집하기 - 2. 부하테스트(Locust) (0) | 2021.03.27 |
| [GCP] Cloud Monitoring 로 VM 인스턴스 로그 수집하기 - 1.시작 (0) | 2021.03.24 |
| [GCP] coursera, Cloud Engineering with Google Cloud 과정 수료 (0) | 2020.09.16 |
| [Qwiklabs] Google Cloud Essentials:Challenge Lab (0) | 2020.05.17 |


